
Something I bet any woman who has been pregnant (or has just simply wished her jeans were more forgiving in the waist area) wants is clothes that make them feel normal. Think words like "stylish, hip and comfy" rather than pregnancy or bloating do not make a woman magically want to embrace pants that make them look like they have a baggy/saggy butt (I mean you maternity pants you are responsible for this more than any other type of pants). They want pants that are normal in everyday minus the fact that they can comfortably accomadate a prego belly.
Enter the idea of converting any pair of jeans, shorts or slacks (and perhaps skirts) into a wearable elasticized waist garment that flatters its wearer :) Novel concept right? Please observe the following comparison: a gap pair of maternity jeans versus their normal pair (which they even have labled as the same design (I think not).
 |
Although the image is fuzzy you can see that the butt pockets are in a normal flattering location, not so with the following. Those pockets are in the same freaking style, the detailing is different and the size of the pockets is just off. The worst part is they are 40 dollars more!

Absolutely ridiculous. Enter Pinterest, there are literally 40 different tutorial links. I combined two of them, one of which disappeared from the internet and it makes me sad.
This is one that was really good, the only thing I would change is that for the covered elastic I would not want the extra tank top looking extension I think it looks odd, but it would work if you make it long enough to go up and over you belly (in which case I would make the knit a nude color.
(http://sewchic.blogspot.com/2008/08/tutorial-how-to-convert-jeans-into.html)
Behold the CGMRB Maternity Jean Tutorial:
1) What you need to buy: Elastic, Polyester Thread, Ballpoint Needle and 1/8 Yard Jersey Knit (I would buy dark blue but nude works as well, I tried white and am just not a fan).

 |
2) Measure under you belly with the elastic, mark what is a comfy tightness.

 |
| Bye Bye useless elastic hairband trick. |


4) Make your elastic casing (meaning you cover the elastic, sew close to it but not on the elastic and leave extra fabric and that is what you attach to the denim itself). To do this sew the measured knit into a tube, and then place the pinned elastic waistband inside the tube (folding the fabric down and over the elastic on all sides).
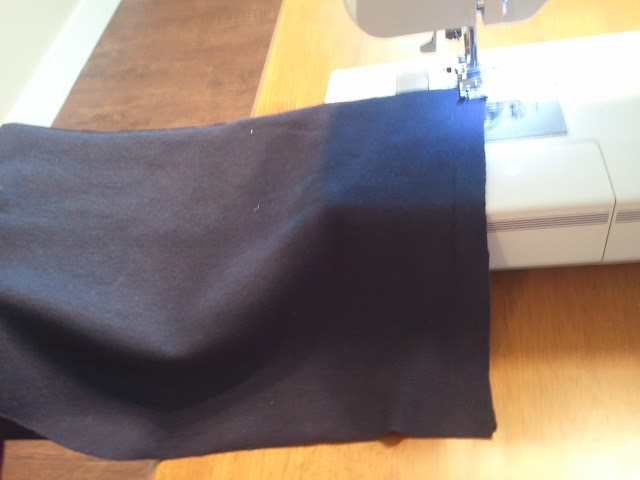


Sew where the pins are placed, remember do not sew on the elastic just right up against it. Like so:


6) Cut off all but a centimeter or less of the ruffle that is below the elastic (this is what you are attaching to the jeans directly.

7) Turn the jeans inside out and pin the elastic casing jersey knit thingy so that the outer edge of the ruffle is even with top of the jeans make sure to line up the sides of the elastic casing with the side of the jeans you will have to stretch the elastic out to do this. (I forgot to do the last part and it made for an unevenly attached waistband, not so pretty see the backside of the jeans photo below). You must make sure that the casing on your elastic is stretching width wise (side to side) because you will have to stretch this fabric as you attach the casing to the denim, as pictured below.


If you have a serger you can serge the seem where the denim and the casing meet to give it a professional finish. Turn them rightside out and you are technically all done. Here is where you really see why I should have pinned the sides of the casing to the outer sides of the jean waist. It would have prevented the awkward gather you see on the right side.

8) I did not do this and I still may go back and do it, but I would highly suggest you sew a line down the elastic casing that follows the middle seem of the jeans (so you are sewing from the top of the back belt loop to the top of the casing. This will prevent the elastic from rolling and twisting in the casing. (Typing that out really makes me think of getting them right now and doing this.
Hurray for pants that fit. Once on you cannot even tell that they have the secret elastic in them.
Obviously they are not the most professional looking by themselves but when you figure the elastic is always covered by a shirt, you would never know that they are now "maternity jeans."

